Equipment:
- Canon 600D
- 50mm Portrait lens
- Adobe Photoshop
- Wide-angle lens
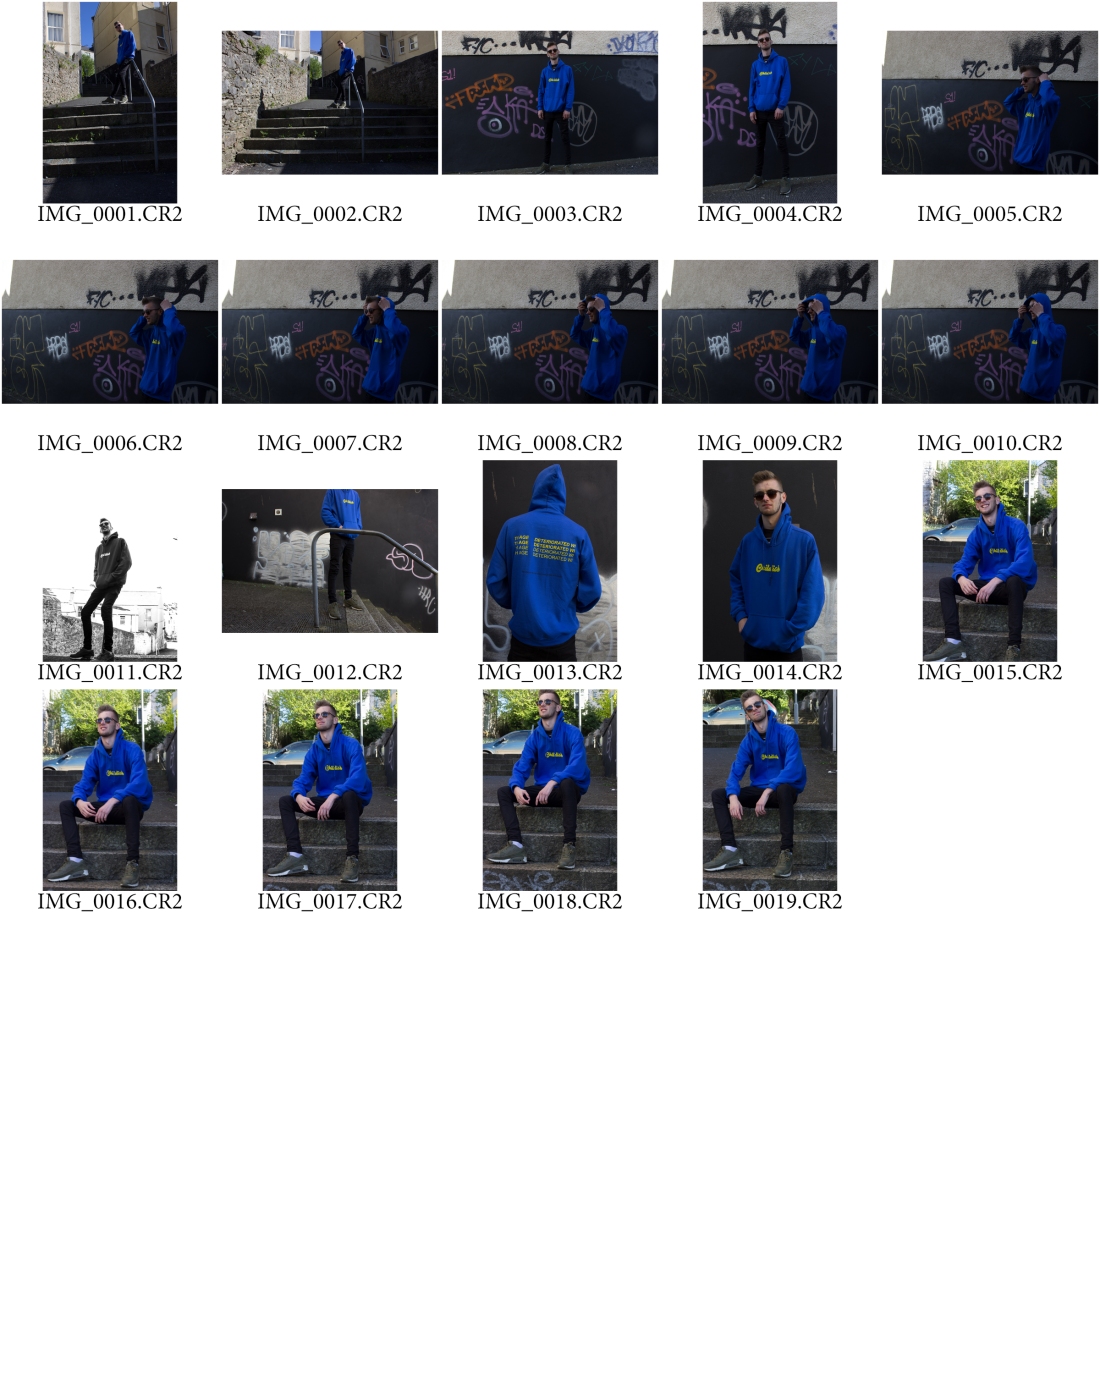
Step 1-Lighting and camera settings
The lighting during this shoot was really interesting due to the fact that I was in a back alleyway, which I was mostly in shade yet during the shoot I discovered a section that was hit with direct sunlight. This gave me some really interesting harsh shadows to work with, as they created shadows on my model’s eyes and facial features which created o non-human aspect to my model.
The camera settings was a struggle for this shoot by how many times I had to experiment with the settings until I had the correct exposure and focus. The problems were due to the harsh lighting and shadows which I had to constantly adjust my settings for.
Step 2-Mood and Model direction
The mood for this shoot was to achieve a more gritty black and white aspect. This is a change from my previous shoot were I concentrated on colours. To achieve this mood I needed harsh shadows, which I captured on my models face thanks to the overhead direct sunlight, and to convert my images into black and white to really increase the darkness in the photographs.
I wanted my model to show no emotion during this shoot and have a dead-pan expression. This would aid the gritty black and white feel I wanted during this shoot. I tried several poses during the shoot, all which helped to add to the gritty effect. I decided to photograph more up close shots of the model because of the fact that I was lacking in more traditional portrait photographs in my previous shoots.
 Step 3-Editing


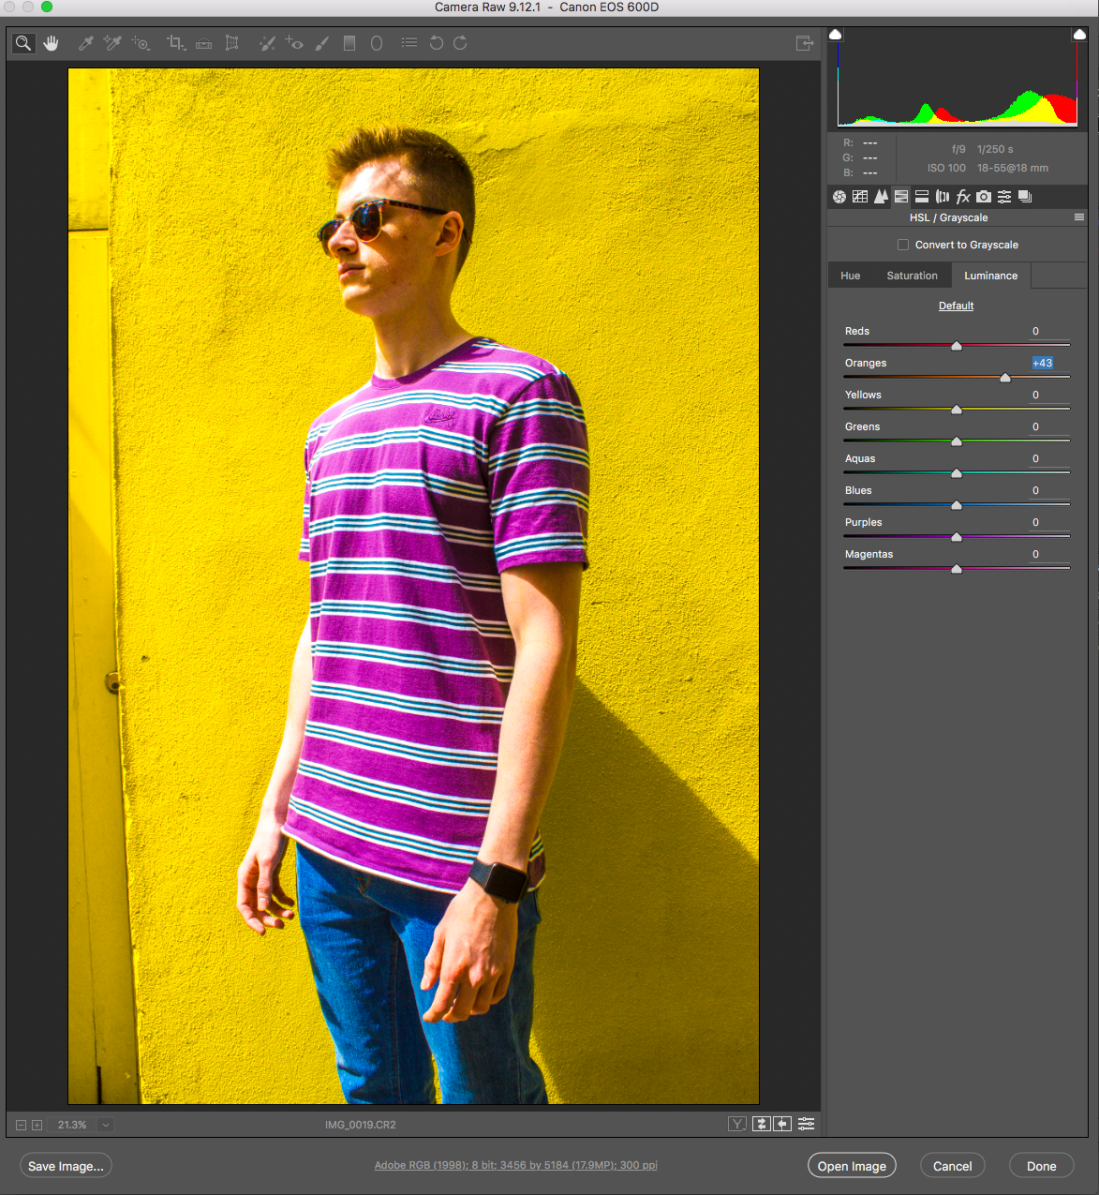
The editing process for this shoot was to achieve a gritty black and white portraits. I did this by decreasing the vibrancy and saturation to zero. I also wanted the black and whites to really stand out, to do this I increased the clarity to give more difference between the black and whites. I also decreased the shading of the blacks to make them a darker shade, I also increased the exposure to have the whites really washed out and overexposed to create the gritty aspected I wanted during the shoot.
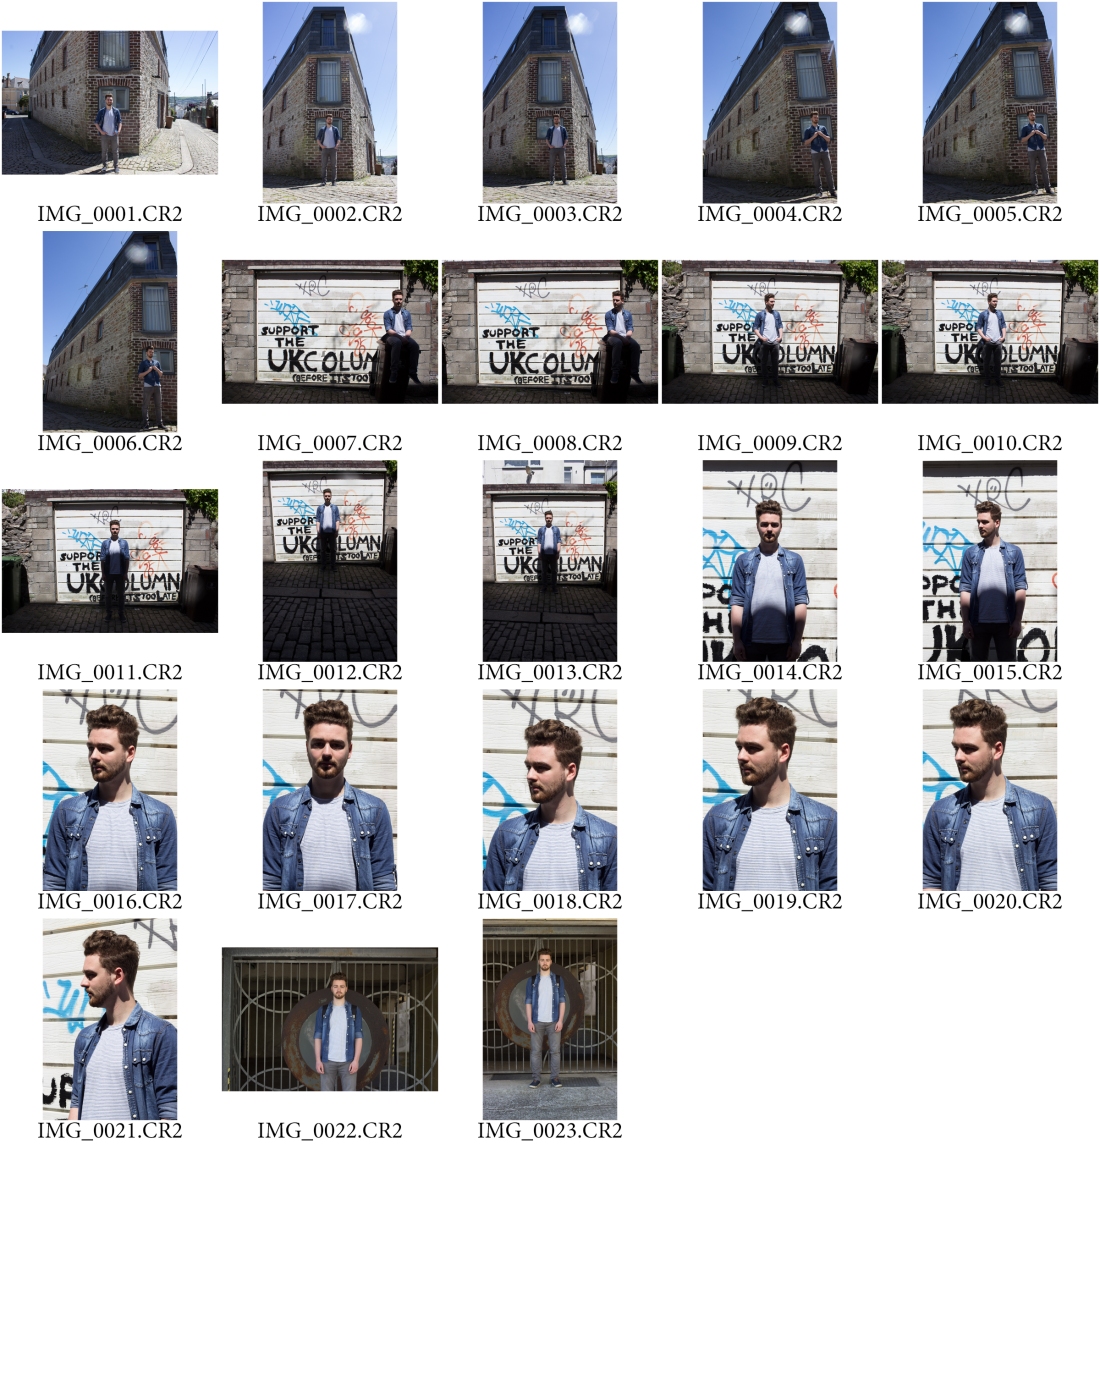
Final Images


 Step 3-Editing
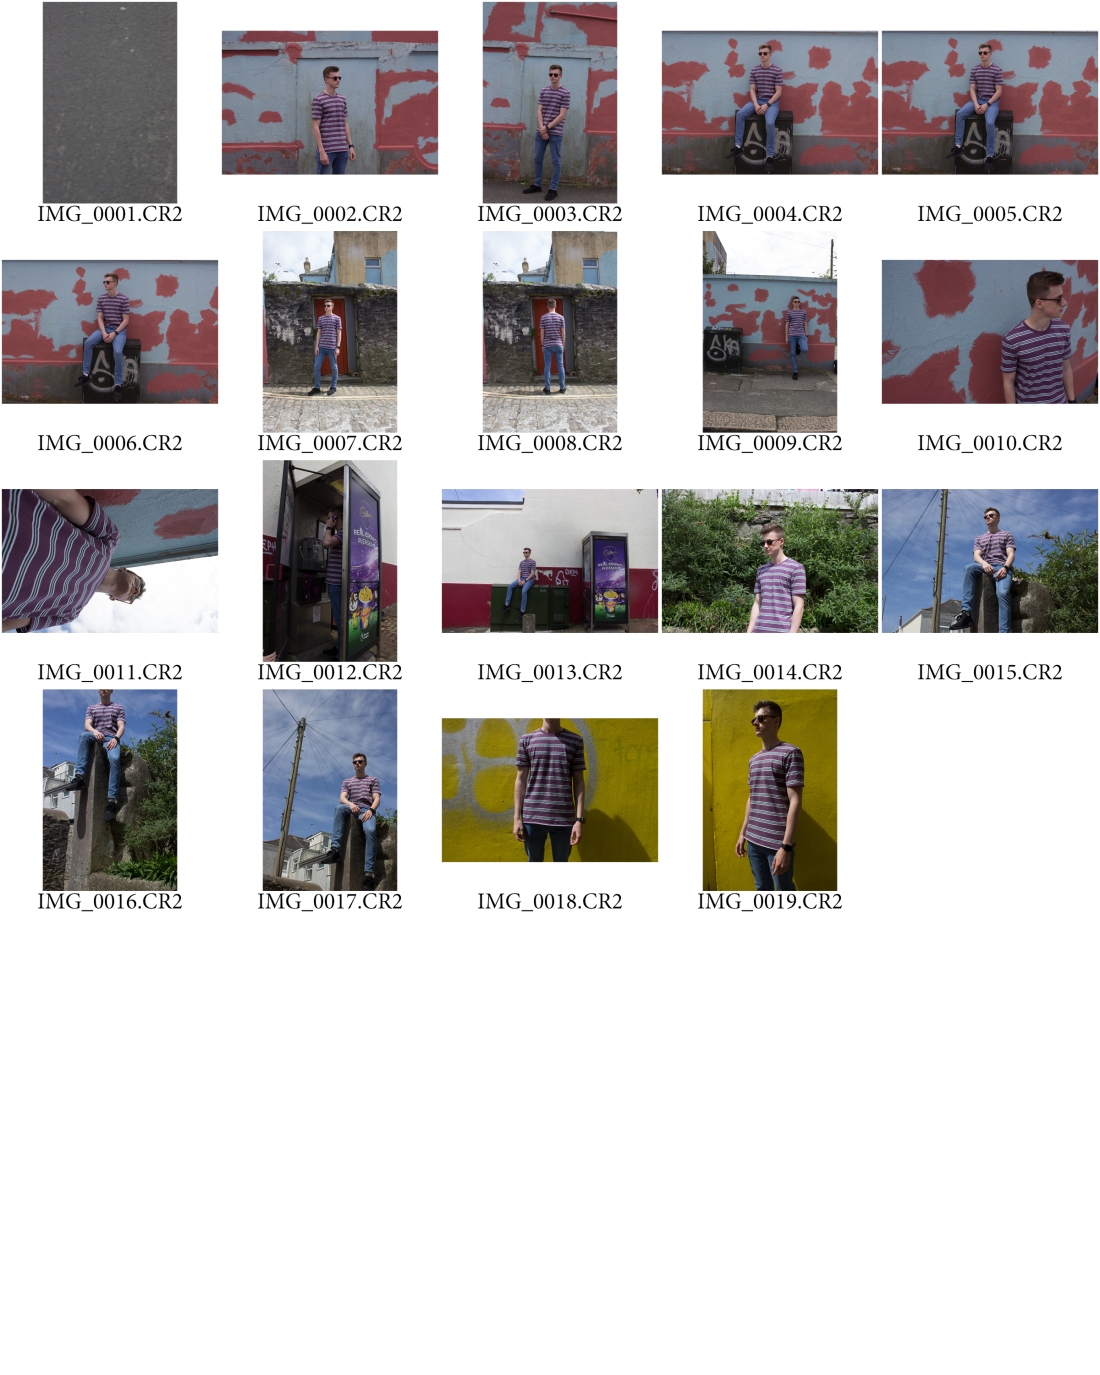
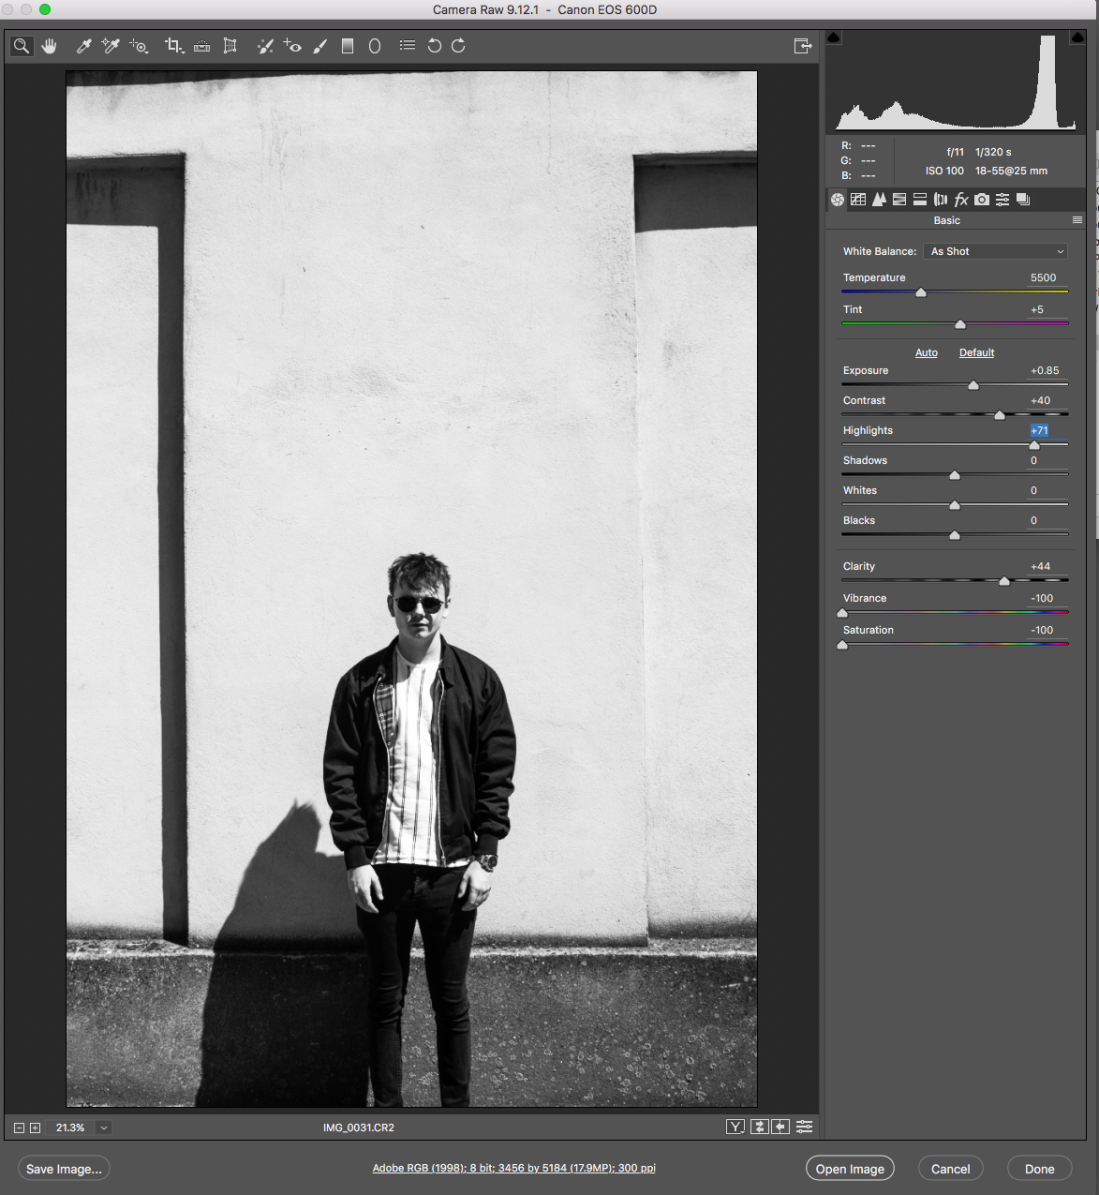 Editing for this shoot was just like the previous shoots, increasing the saturation and delving into black and white photography. In this shoot, the black and white aspect really helped grasp the crisp and aesthetically pleasing aspect of the photograph. Converting the photograph into black and white, helped define the lines and shadows, with help from increasing the contrast, to help increase the difference between the blacks and whites, this helped my image to not have any flat grey colours. For the bright colourful images, I increased the vibrancy and saturation to carry on with the continuous style ive been going with during this shoot.


 Step 3- Editing